Shooting portraits

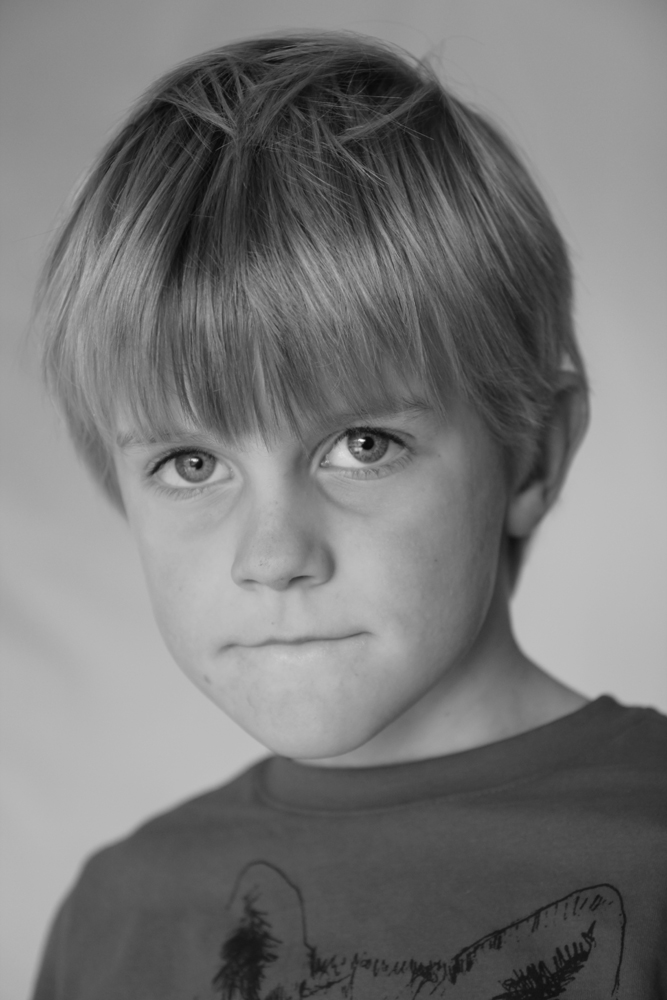
My favourite photography to look at and to take is portrait photography. I love the idea of trying to tell a story, or capture an emotion in a single frame. I recently took a whole lot of portrait shots at a family get together, and I was really happy with some of them. So ‘I’m No Expert, But’ here are my tips for shooting portraits.

1. Light
If you have a studio and lights then you are probably reading this post on an ironic level…so I’ll just provide advice for the rest of us.
Use whatever natural light you have available. So if there is a window in the room, make sure the subject is facing towards it (and obviously avoid placing the person in front of the window, as all the backlight will make their face comparatively dark).

2. Shallow depth of field
A shallow depth of field basically means that one part of your shot is very clear, while the rest is blurred. To me this allows you to make the persons face the focus of the shot…everything else is just background. The lower the f-stop you use, the smaller the area that is in focus. My lens can go to 2.8 so that is what I use. Some lenses can get down to 1.4, some can’t get lower than 3.5.
The challenge with using a shallow depth of field is that while it means that you have one area beautifully in focus…you need to make sure that it is the area that you want. I have a dazzling array of photos where the person’s hair is in focus…or their ear. When in fact what you want to capture is…

3. The eyes
This is where the connection is for me. The mouth can be smiling…but the eyes will always tell the real story…so make them the focal point of the shot.
If you can, try to get some ‘light in the eyes’. If people are looking towards the light you will see a reflection of this light in their eyes, which adds an incredible sincerity to the shot.
Steve McCurry is a great exponent of this.

4. Camera settings
If you have the time and ability, then by all means set your f-stop, aperture and everything else manually.
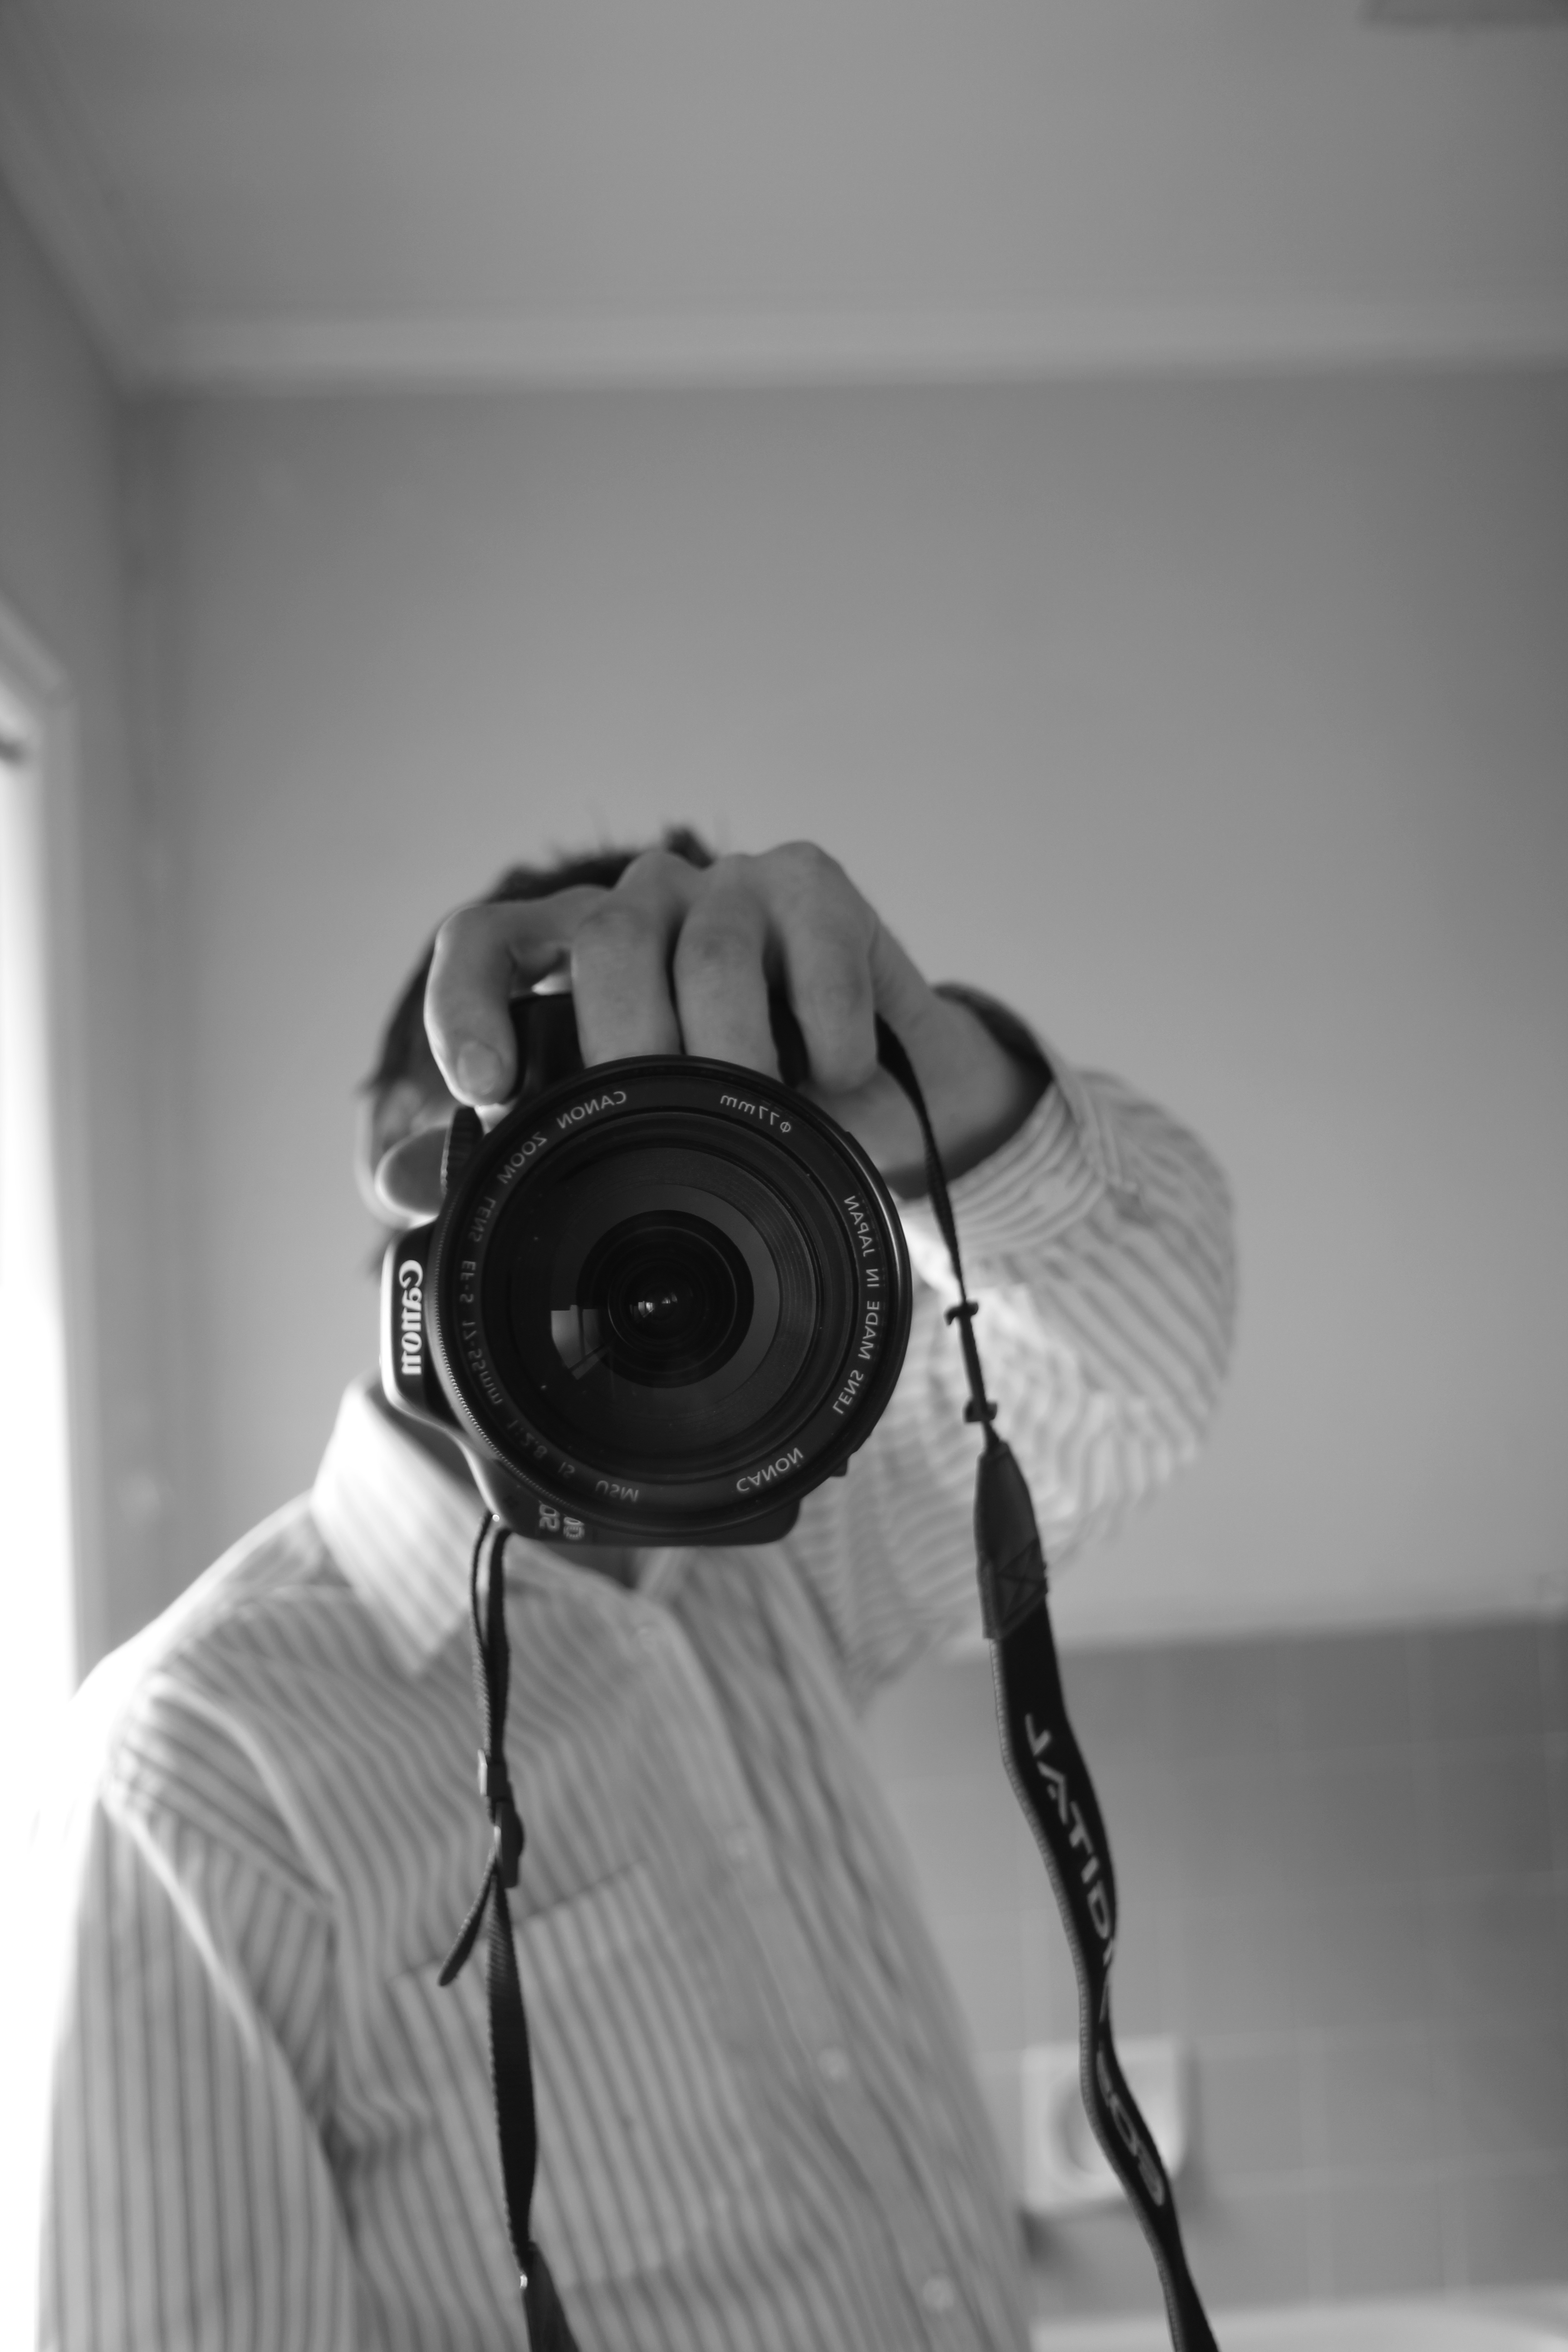
Personally, I use the ‘CA’ (Creative Auto) setting on my Canon. Then use the following:
Flash: Turned off
Background: Blurred as possible (this is the shallow depth of field I was talking about)
Exposure: Leave as is unless it is really dark or sunny…and even then, just move somewhere else
Picture setting: Monochrome (I really like my portraits in black and white). But only do this if you can work with RAW files on your computer.
File type: RAW+L This will give you a RAW file (in full colour) and a JPG in black and white (if you’re in the monochrome setting). A lot of people will tell you to shoot full colour and then desaturate the image to make it black and white. But I personally like to see the image in black and white as I shoot it…and if I suddenly need a colour version, then I can just save the RAW file as a colour jpg.
Shooting: Continuous (people’s expressions change in the blink of an eye…so it’s worth shooting a whole lot of shots, to get that one moment where you have captured something special).

5. Put yourself in their shoes
Imagine you are sitting in front of a camera, unless you are an extreme extrovert, you are going to be feeling a bit nervous…the photographer takes the photo, then says ‘No, that didn’t work’ or ‘We’re going to have to do that again’. How do you feel? I’m going to guess ‘not so great’. As the photographer you may have meant ‘I didn’t quite get that right’, or ‘I’ve got to change my settings’…but the damage has been done. You are now very unlikely to get a great shot of this person because that are going to be feeling awkward or self-conscious.
So always put yourself in the shoes of the person you are taking the photo of…if you wouldn’t like someone doing something to you, chances are they won’t like you doing it to them. And from a purely selfish perspective, you are going to get a much better photo of someone who is happy to be there and having fun.

I also think it’s worth making sure you get at least one photo that the person having their photo taken will actually want. Yes that photo of them in the middle of yawn ‘totally captured their inner child’ and yes that photo where pretty much everything is out of focus except for their left nostril is a fitting tribute to ‘the look you were going for there’. But you’re going to run out of people who are happy to let you take their photo pretty quickly if nobody likes how you’ve made them look.
So find some work that inspires you (I love cycling so Kristof Ramon , Veeral Patel, and Wade Wallace are a few of my faves) and get out there and try to capture some magic…then upload that magic to the internet…then wait for people to tell you that ‘you’re doing it wrong’.
Anyone can take a great photo

Welcome to the first NineB (‘Now I’m no expert, but’) blog

A while ago Things Bogans Like had an excellent piece on bogans purchasing camera equipment and assuming that they were automatically great photographers. As usual I started reading the article and thought ‘Ha, ha…those stupid bogans!’…and then gradually began to see more and more of myself in the article. Then I stopped reading it. I don’t have time for that sort of pseudo-intellectual lefty crap.

The problem that the bogan and I have, is that pretty much anyone can take a great photo. If everything goes right, and all the moons align, and you take enough photos…eventually you’re going to have one that is a great image. And you’ll look at it, and you’ll think ‘If I can do this once…I can do it again…so clearly I’m now a photographer!’ But you’re not. The big difference between me/you and a good photographer, is that they continually get great shots. They definitely shoot some duds…but then they also shoot some photos that are so good they make you want to just give up on ever taking another shot (I call this the Lee Jeffries effect).

But there are some things we non-pro’s can do to improve our ratio of crap photos to good ones.

1. ‘It is about the bike’
Sure Lance Armstrong may have said that his success was ‘not about the bike’…but that’s a lot easier to say from the comfort of a $10K road bike. Likewise, the money you put into good equipment (particularly lenses) will make a massive difference to quality of the images you take.

2. Using ‘auto’ features does not make you less of a man.
Yes, a great photographer doesn’t need a stabiliser, or autofocus…and they set the f-stop and aperture and everything else manually (they probably even know what the f-stop is). But you are not a great photographer…yet.
When I first got my DSLR I shot everything on full auto (other than flash..I hate using flash), and they are still some of my favourite photos.
By all means learn how to do everything manually (it will make you a better photographer), but if you see a great photo happening in front of you…don’t forsake capturing the moment for some sort of misplaced professional pride. Besides, when someone asks about your photo, you can still lie and claim you did it all yourself.

3. Don’t be afraid to ask for advice from photographers whose work you like.
Most good photographers know that there is more to what they do than just the settings they use (such as the way they work with the people they’re photographing, the post production processes they use, the time they spend in the freezing cold to get the shot), so they won’t mind answering your questions.
If I want to ask someone about taking a MTB our outdoorsy photo I’ll ask Tim Arch, or if I want some tips on taking a great portrait shot I’ll ask Veeral Patel, or if I want a great car shot I’ll ask Joel Strickland…and of course if I want a photo that represents the pain of riding from Melbourne to Adelaide on a fixie I’ll ask Andy.
But be warned, some photographers are just jerks and won’t get back to you…I’ve sent numerous emails and tweets to Ansel Adams asking if he uses a Canon or a Nikon DSLR. He still hasn’t responded to any of them.

4. Shoot what you know

If you like cars or bikes or wilderness or ponies, then shoot cars, bikes, wilderness or ponies. If you have an interest in something, then you’re likely to have an intuitive idea of; how things should look, when is a good time to take a shot…and ideally where you can find a pony who can either drive a car or ride a bike in the wilderness.
Most importantly, it is a lot easier to fit photography into your life than it is to make time to go and take photos. So the more you can work photography into what you do everyday, the more practice you will get,and the better you will become.

5. Shoot early, shoot often

The joy of shooting digital (and there’s no way you made it this far through this blog if you’re shooting on film…so don’t try to claim otherwise) is that you can take a whole lot of shots, and you can see them immediately, and then you can adjust things accordingly …and then you can shoot a whole lot of shots again.
It’s basically the snowboarding/surfing scenario. It’s a lot easier to learn to snowboard, because each time you fall over, you can just get up and try again. Whereas with surfing, each time you fall off you have to paddle back out, wait for a wave, catch the wave then try to stand up again. So be like a snowboarder, and take a lot of shots so that you can learn how things work. But at all times know that surfing is way cooler.
It is also very important that you get as good at deleting photos as you are at taking them. If you’re shooting a 100 shots and keeping more than 10 of them, you are either setting your standards way too low or you are some sort of photographic wunderkind. Either way you are not the target audience for this blog…so it’s probably best if you left.

So there you have my hints for taking a better photo, to paraphrase a DJ Shadow sample ‘It won’t make a bad photographer good…but hopefully it will make a good photographer better’.