Now I know that at the moment the idea of talking about photography at a live venue with a group of people all crammed in together in a non-ventilated space where they can yell and scream…may seem a tad far-fetched. Who knows, by the end of this year all pubs and band rooms may just have wisened old hipsters looking into the middle-distance and saying ‘Live music? We ain’t see no live music since…well shoot…not since Omicron!’
But I’m an optimist…and I think I’m also now at the stage where I have shot enough gigs to have learnt from my mistakes, but I’m still sufficiently new at the game to remember all of the things I wanted to know when I started.
So I think it’s the perfect time to give some tips on shooting photos at live gigs.
Get out there
A remarkably important part of taking photos at live gigs…is actually being at those live gigs to take photos. So while I have waited remarkably patiently for The National to call and say ‘Chris, we want YOU to follow us around the world and take photos at our shows’, I have also hustled to find performers to take photos of.
Now, admittedly, having the drummer from The Cat Empire as my brother-in-law has opened quite a few doors. But if you haven’t made the strategic decision to marry into the Hull-Browns…then that’s on you.
But in all seriousness, I’m yet to come across a musician who has said ‘Nah, I’m all good for free photos that I could use on my numerous social channels, and I certainly don’t need a new shot that I can send to potential venues, and the venues I am playing at really hate it it when I bring along an extra person who buys a few drinks.’
This is a win-win for you and the artists, so see if you can find a friend/cousin/friend of your kid/local parent/open mic night participant who is doing a gig and get photographing!


Spot focus
Ok…this is going to get a bit technical, but I promise the payoff is worth it! If you’ve ever been at a gig, or a kids concert, or anywhere where the person on stage is in the spotlight and taken a photo of it on your phone…you’ve probably ended up with a photo where that person is very bright, and the background behind them is kinda murky. This is because your phone (and you camera will do the same), has taken in all of the light from what is in the photo and found a place where on average everything has the right amount of light. So the person in the very bright spotlight and the background which is very dark…have been evened out. The dark bits are a bit lighter and the bright bits are a bit darker. In a normal daylight shot, this is great…and you will say ‘Thanks phone/camera for doing all of that thinking for me!’ But in a darkened room with with a performer in the spotlight you will be saying ‘Stuping phone/camera! That looks like balls!!’
Fortunately the answer is pretty straight forward. You can tell your camera to just focus on one part of the photo and get that bit exposed correctly…and then base everything else off of that. So in the case of someone in a spotlight, you set your ‘metering mode’ to ‘spot’ and that will make sure that the very bright person is exposed correctly and everything else will become dark. There are other modes you can choose that will vary from camera to camera…but basically the options will be for your camera to see the whole image and balance out the exposure, or take a section of the image (usally the middle of the image) and balance the rest of the picture based on that, or take a specific part of the picture and balance the rest of the image based on that.


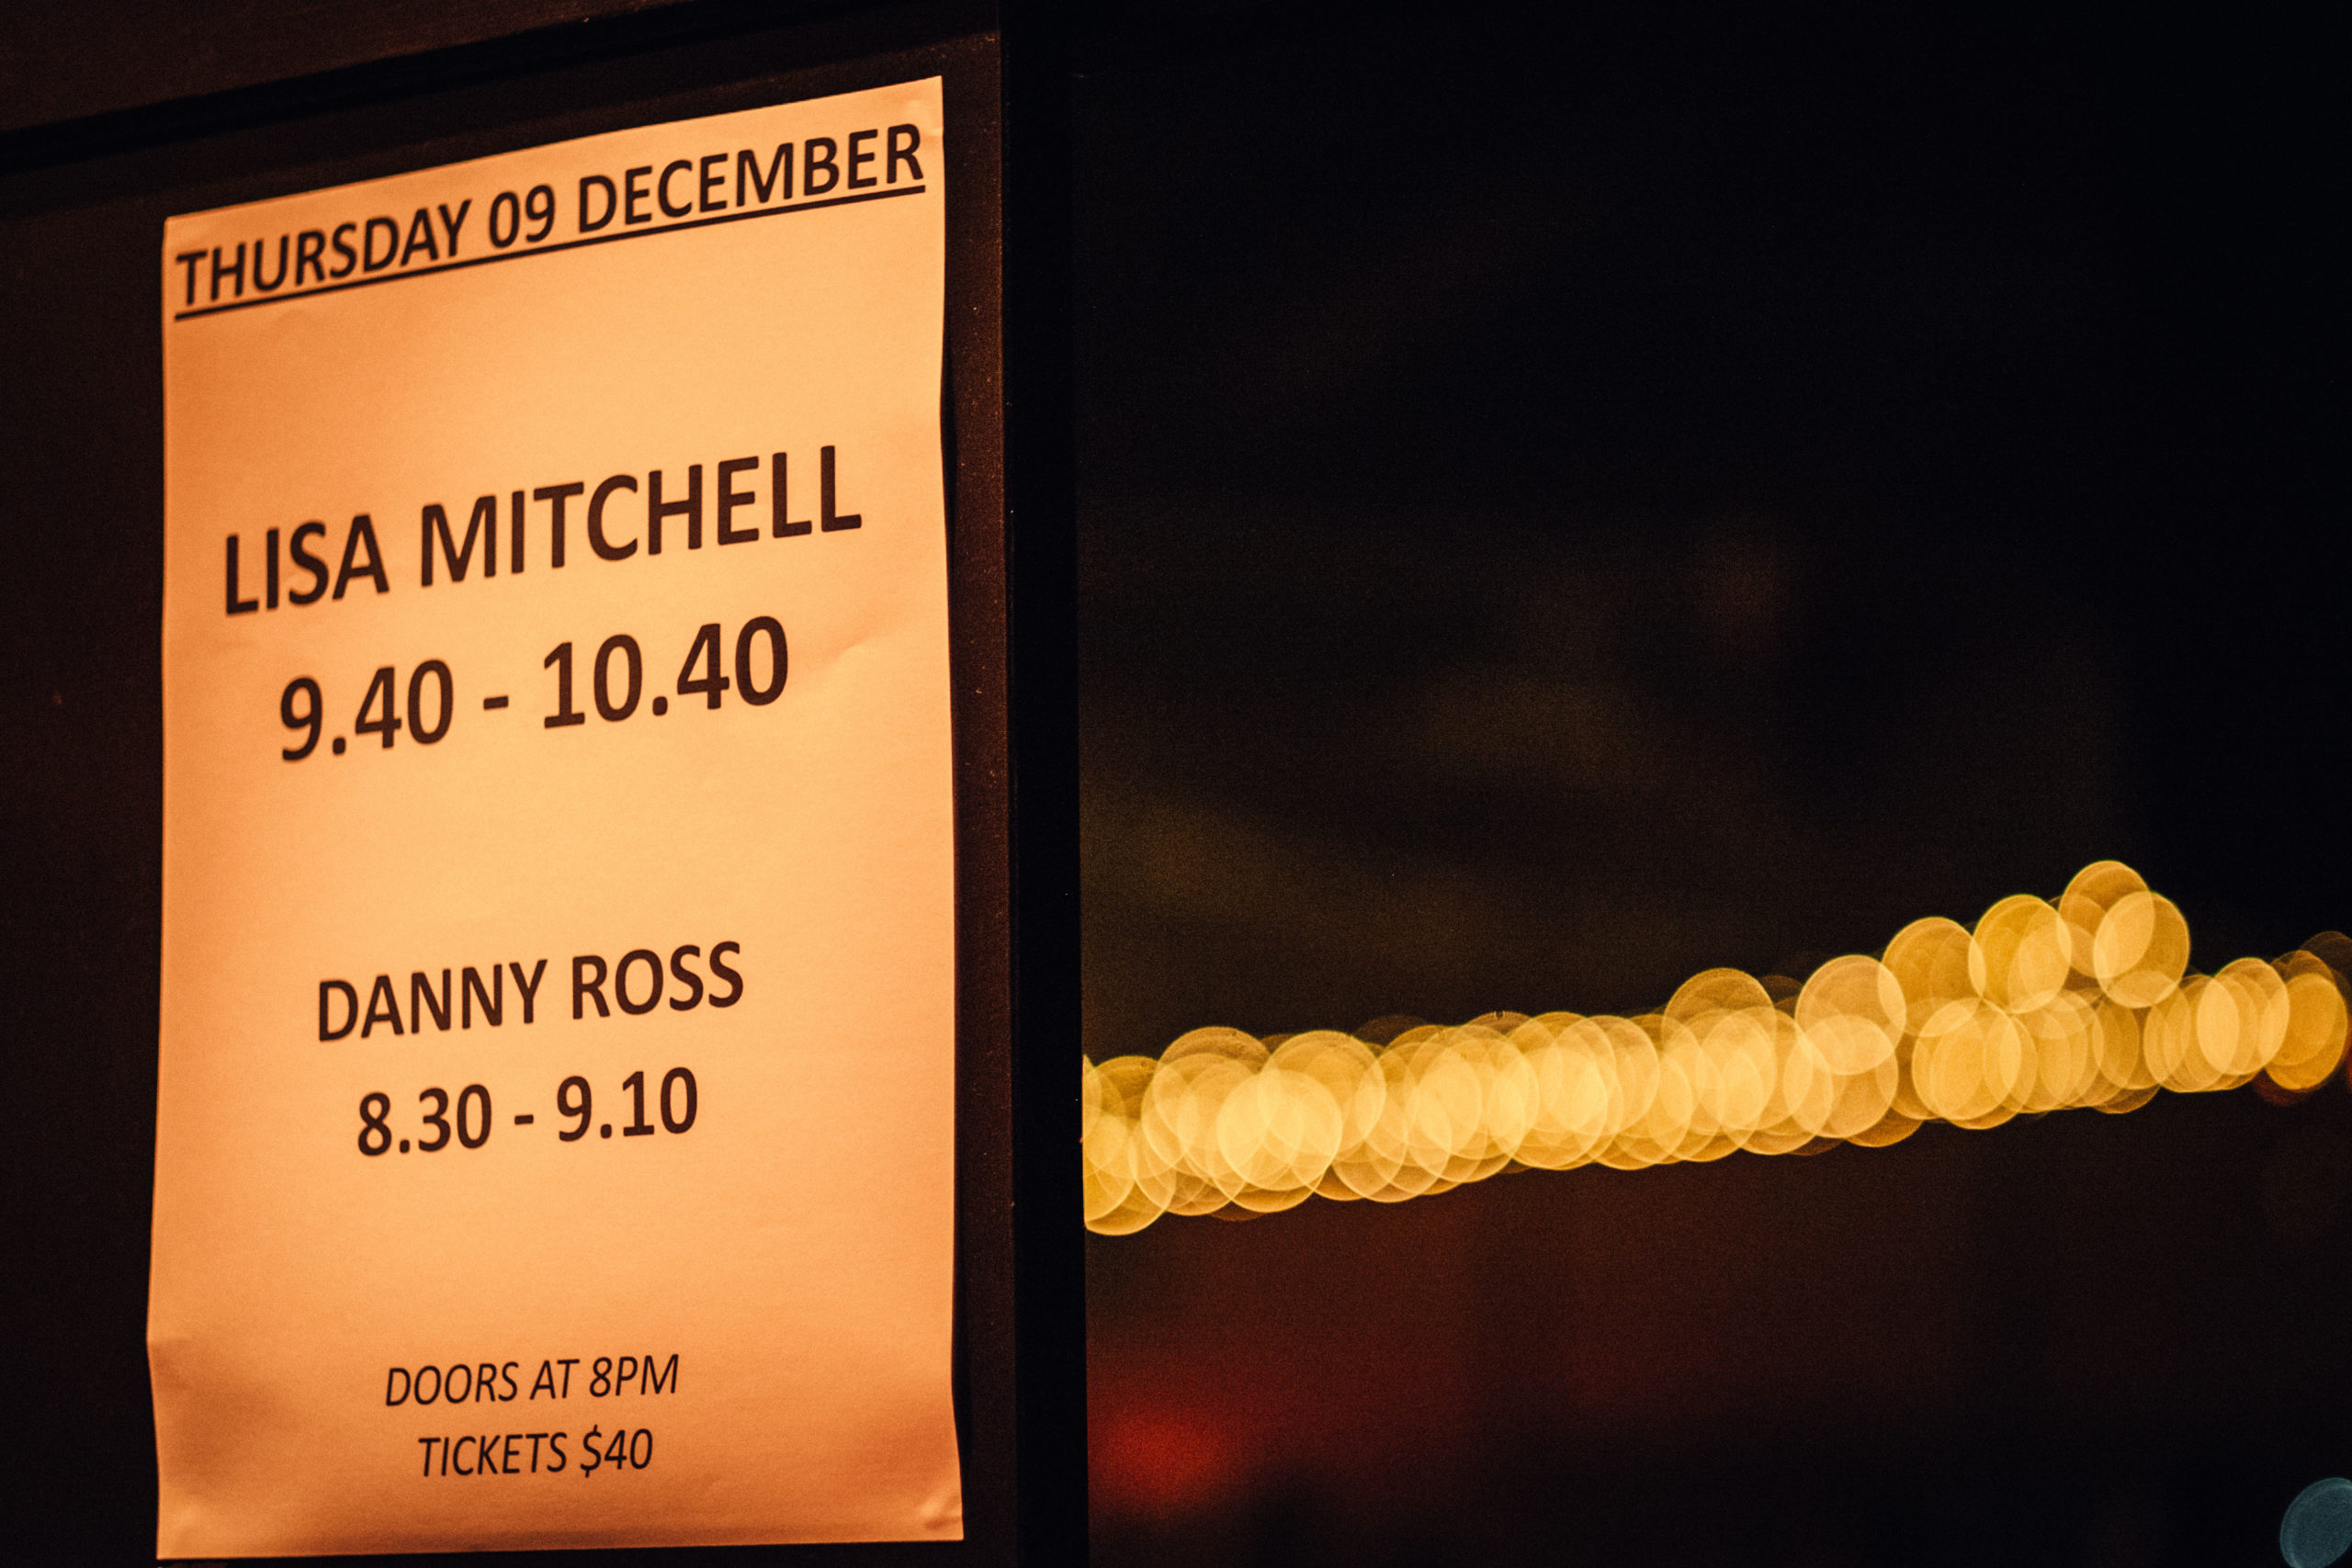
A really good example is this shot I took of Danny Ross at the Wesley Anne. It was early evening the and the setting sun was coming through a gap in the curtains and hitting the stage. It was so bright, it was even brighter than the lights in the venue, which made taking photos REALLY tricky.

But then also gave some opportunities that I could never hope to replicate without a LOT of time.

Get wide, get tight, get outside!
This is my advice for pretty much every photography job…but it’s particularly true for live music, DON’T SETTLE FOR MULTIPLE VERSIONS OF THE SAME SHOT!
Absolutely get the standard photos from as close as you can, and if there are multiple people in the band, make sure you have a good standard shot of each of them. But then…get creative!
Go in as tight as you can

Get as wide as you dare

Take photos of their shoes

Shoot from the back of the room

Shoot from outside the venue

I can safely say that they will not all be good shots…but I can also guarantee that one of these shots will be your favourite shot from the gig, because you made it happen!
Signage
I once presented at a conference and there was a screen outside the room with my name on it…I took a photo of it. Why? Because in one image it showed that I had been at conference, and I had presented…and no-one had escorted me off the premises saying ‘Sir, you have no place being here’.
I think most performers want the same validation.
It’s time to move away from ‘auto’
The ‘auto’ settings on your camera are a far better photographer than I will ever be. They can do calculations that will result in the best combination of f-stop, shutter speed and ISO in milliseconds. BUT they are not set-up to provide the best shot in a darkened room, with a subject who keeps on moving and who has something sitting just in front of their face.
In fact, leaving your settings to auto will almost certainly lead to a slightly blurry photo of the performer (as they were moving when you took the shot), but that doesn’t matter, because the autofocus will have focused on the microphone instead of the singer
So you’re going to have to get comfortable manually setting some of your parameters.
Shutter speed – If you have a guitarist/singer then you’re probably looking at a minimum of 1/125. If they’re just sitting on a stool and singing you could probably go lower, if you’re trying to capture the drummer, you will have to go higher…and if you’re capturing a punk band, I wish you the best of luck.
f-stop – If your shutter is only staying open for 1/125 of second, then you’re going to have to let your aperture do a LOT of the heavy lifting in terms of letting light in. So go the lowest you can go. I have a beautiful 56mm f1.2 portrait lens that is hands down my favourite lens at a live gig as it just lets so much light in. Whereas my wide angle is only f4 and that needs a steady-hand, or a LOT of noise-reduction in post.
ISO – Modern cameras are remarkably good at taking great photos at ISO levels that would have been considered laughable in the past. So don’t be afraid to let it get as high as 5,000. There’s a reason a lot of my live music photos are black and white, and that’s becuase it’s easier to hide noise reduction (a setting in Lightroom that ‘smoothes out’ the crunchiness of a shot with high ISO).
If you’re in a venue with a lot of different lights, then I would leave the ISO on auto, because if a bright light suddenly comes on just before you take the shot, the camera will adjust before you’ve even pressed the button…you probably wont.
Focus – If you have your camera on autofocus, then it will focus on the thing closest to the camera in the auto-focus zone. So if the performer has a microphone in front of their face, and you’re focussing on their face…then it’s going to focus on the microphone. So be brave and try a bit of manual focus!

Drummers are people too
Look, I get it. When your choice is between the charasmatic lead singer, striking a rock-star pose, with the lights shining on them at the front of the stage…and the person at the back of the stage, moving frenetically, with no lighting and a car-crash of cymbals and drums surrounding them. You’re going to take the photo of the lead-singer everytime!
Just try to get a least one decent shot of the drummer…and the bass player (they’ll be hiding next to a speaker somewhere).

Something in the way
Part of the joy of any live gig is the people around you. You very rarely get an unencumbered view of a performance, so don’t be afraid to capture this with your photos.
Get down a bit lower and shoot between people’s heads.

Or ‘dirty up’ a clean picture by shooting through something (in this case it was an ornate hand rail that was about 3cms in front of the lens…but with the focal length set for the stage, actually created some nice shadows and deliniation between the performers)

Next level stupidity
Looking for something a bit different? Then why not hold your phone under your lens to create a mirror effect?

Or take a photo through another lens?

Or zoom your lens while taking your photo

If they work, then you’re a creative genius…and if they don’t…the internet never has to see your mistakes (unless you publish them in a blog…as above!)
No flash photography
The standard rules for taking photos at a gig if you’re actually there on business is ‘First three songs, and no flash’. I will never understand why you can only take photos for the first three songs, as I think it’s like the venue selling a recording of the gig, but only including all of the between song banter and tuning of guitars…you know, all of the stuff that happens BEFORE the band actually hits its straps?!
But the ‘no flash’ thing makes perfect sense. No one wants to see their favourite singer stagger off stage having been blinded by some muppet unleashing a flash in their face…and no unseasoned performer wants a constant visual reminder that someone is capturing everything that they’re doing.
Also, if you’re shooting on your phone, just remember that the flash is designed for people about a meter away…so if you’re 15 rows back pinging of shots of a band…you’re really just taking stunning portraits of the backs of the heads of the few rows in front of of you.
Share the love
If you’re taking photos at a gig and you see another photographer…just remember, they’re not the enemy or the competition!
Realistically they are the only other person in the room who is facing the same challenges as you, and most likely the only other person you can learn anything from. So don’t be afraid to strike up a conversation, and like their photos on Instagram the next day. If you’re feeling really generous, why not grab a quick photo of them in action and send it through to them. Just as chef’s are less likely to be invited around for dinner (as people feel increased pressure to make an amazing meal), I can pretty much guaranteed that most photographers have very few photos of them in action (in fact I think the only photo I have of me in action, is me giving a photographer friend the finger while taking photos at a wedding!)

At the Corner Hotel gig I got chatting to one of the other photographers (the remarkably awesome Samantha Meuleman ) and during the next music shot grabbed this shot of her.

Is it the greatest photo? No. Was ‘here’s a photo I took of you while you were at work!’ an awkward conversation starter? Yes. But do I have any regrets? No!
So there you go…some of the lessons I’ve learned on my journey so far. If you’ve got any tips you’d like to throw my way, I’m always keen to hear them.